Self-Binding Blanket
Sewing is an extremely new hobby that I have picked up. To say I am a novice at it would be a great understatement. However, at one point I had some fabric that I bought to make a car seat canopy, which I ended up not needing. Therefore, when I was searching what I could do with the fabric, I discovered these blankets. To be honest, the thought of me trying this terrified me. For some reason, I always had a complete mental block when it came to sewing. Prior to finding these blankets, my sewing consisted of a couple of burp cloths and “helping” my mom sew some curtains (by help I mean ironing while she sewed). Anyway, I thought I would give this a shot and see what happened even though I was completely confused by the online tutorial. That blanket turned out to be my favorite one that I have done so far, probably because I loved the fabric and it was the first thing I had made my son.
Since then, I have made two more and I love how simple they are and how cute they turned out. Therefore, for my fourth undertaking I decided to share with you all how I make them and how simple they really are.
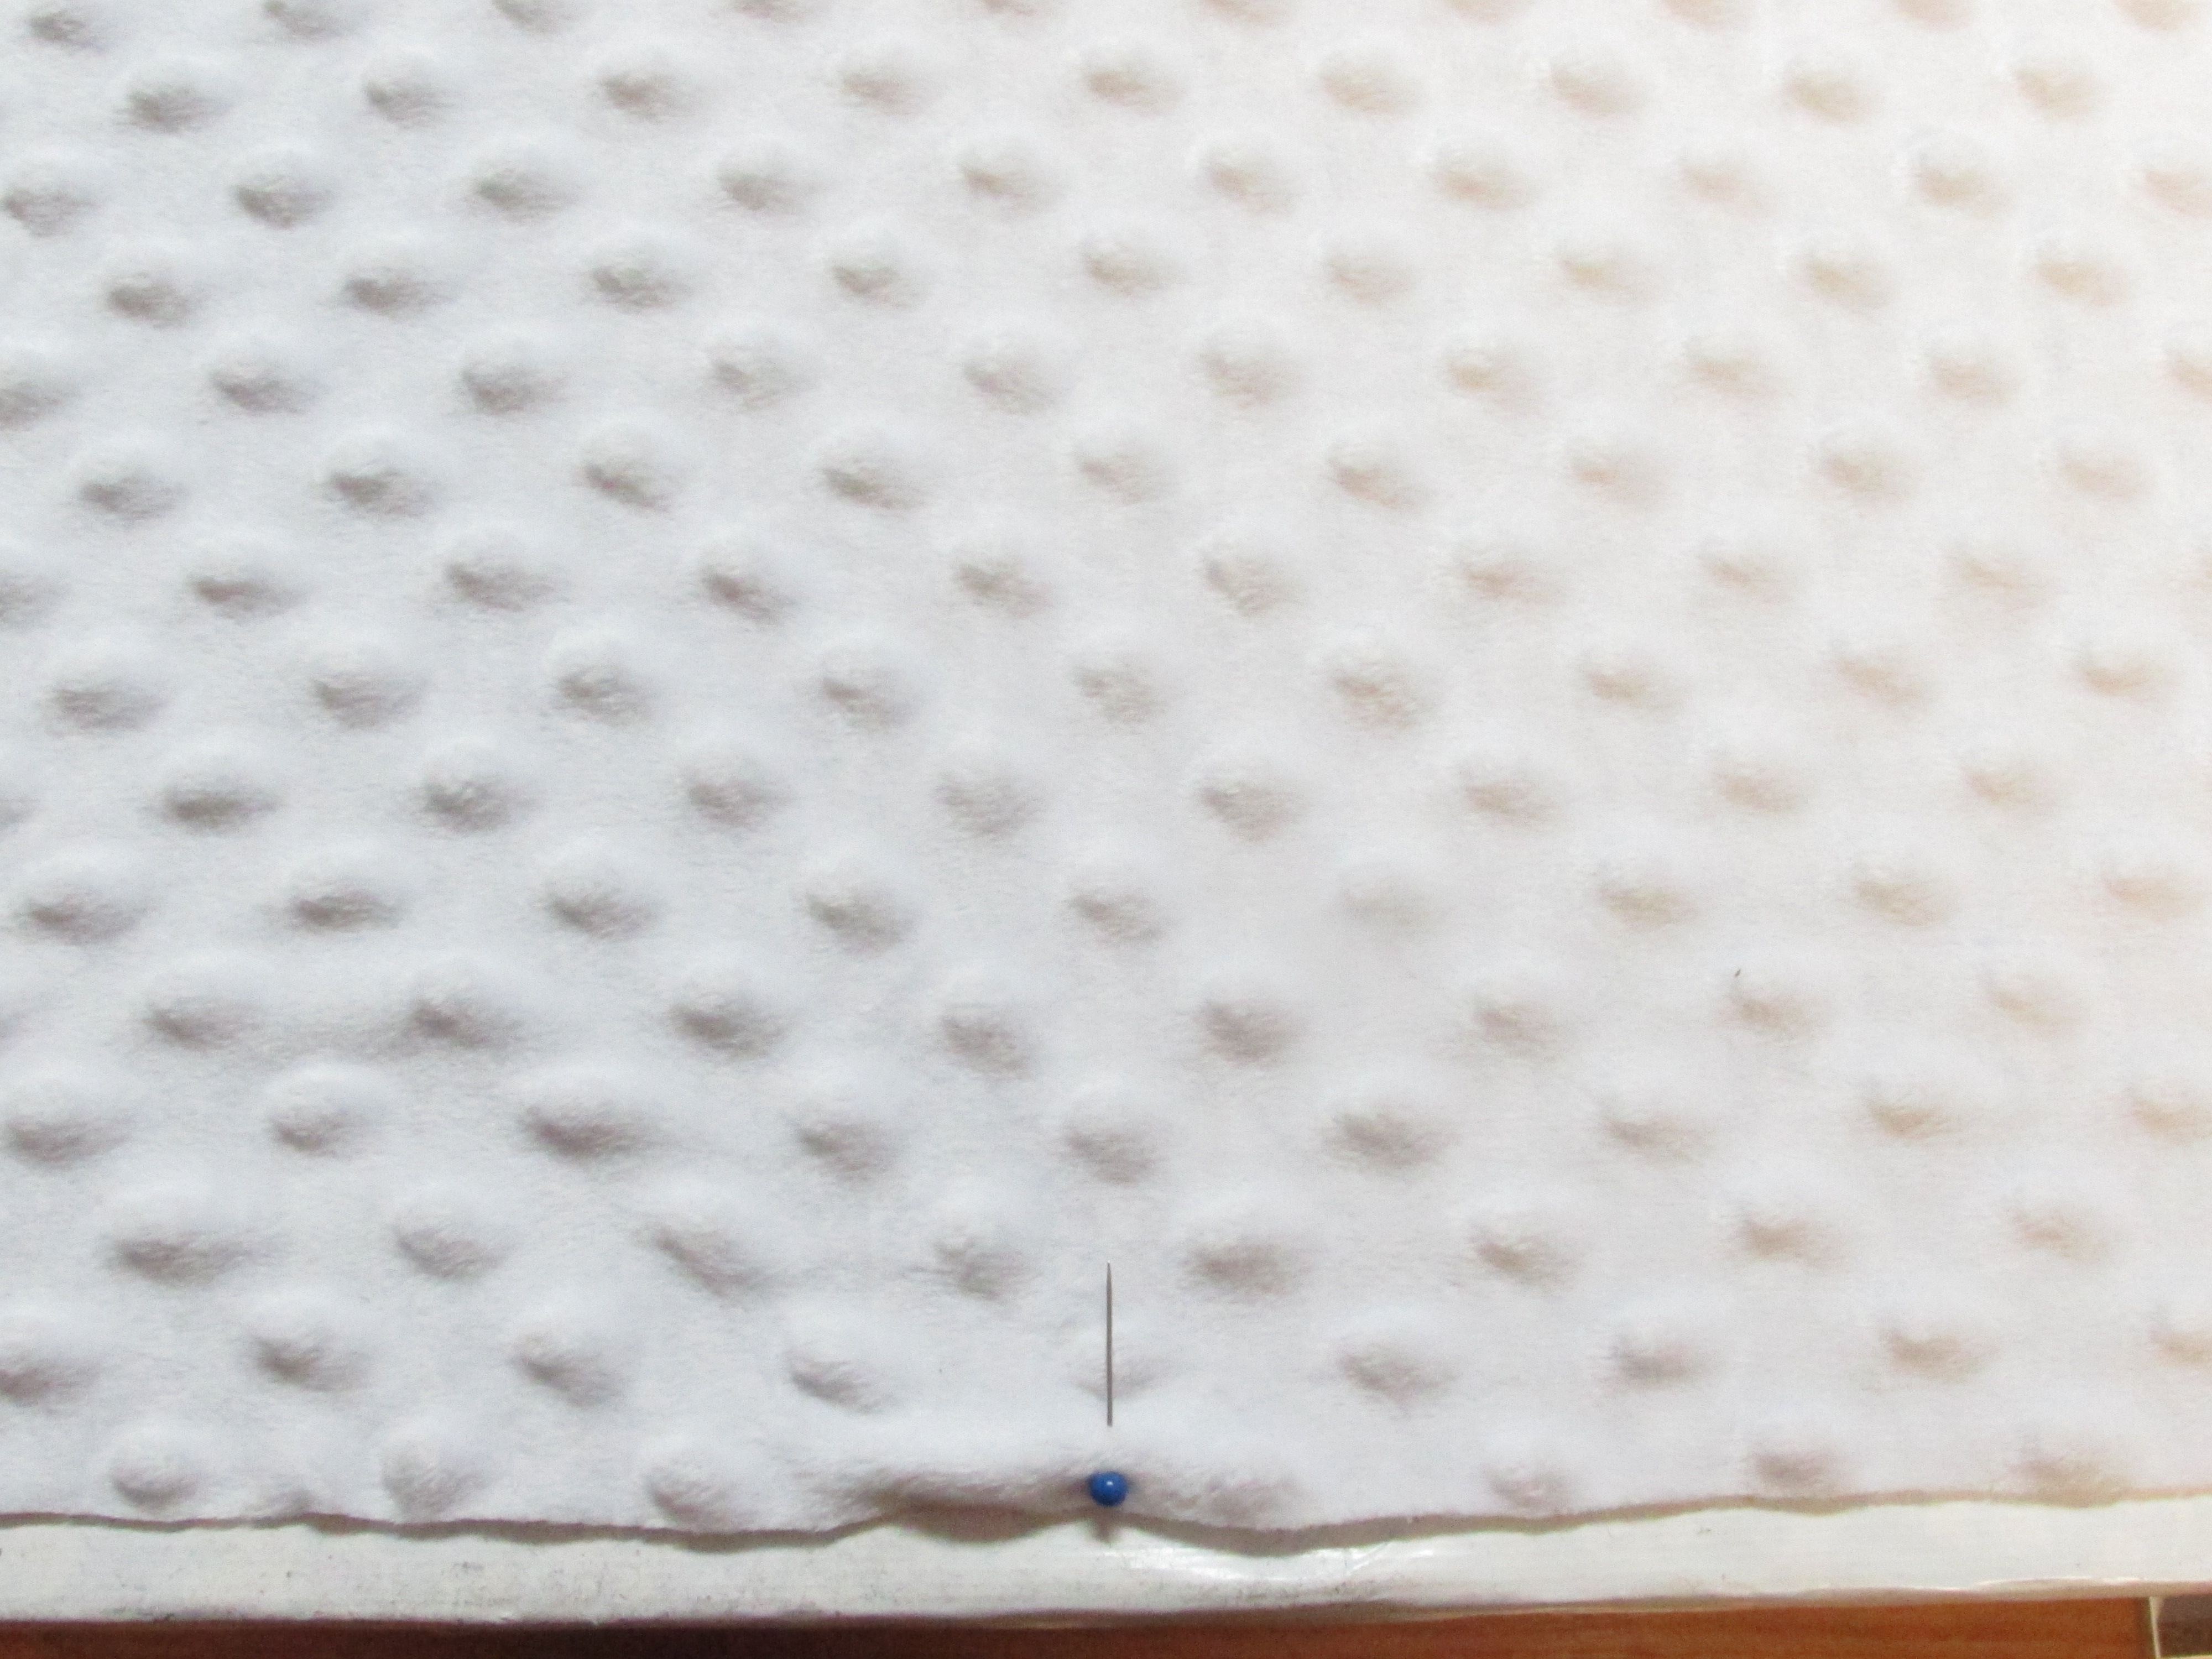
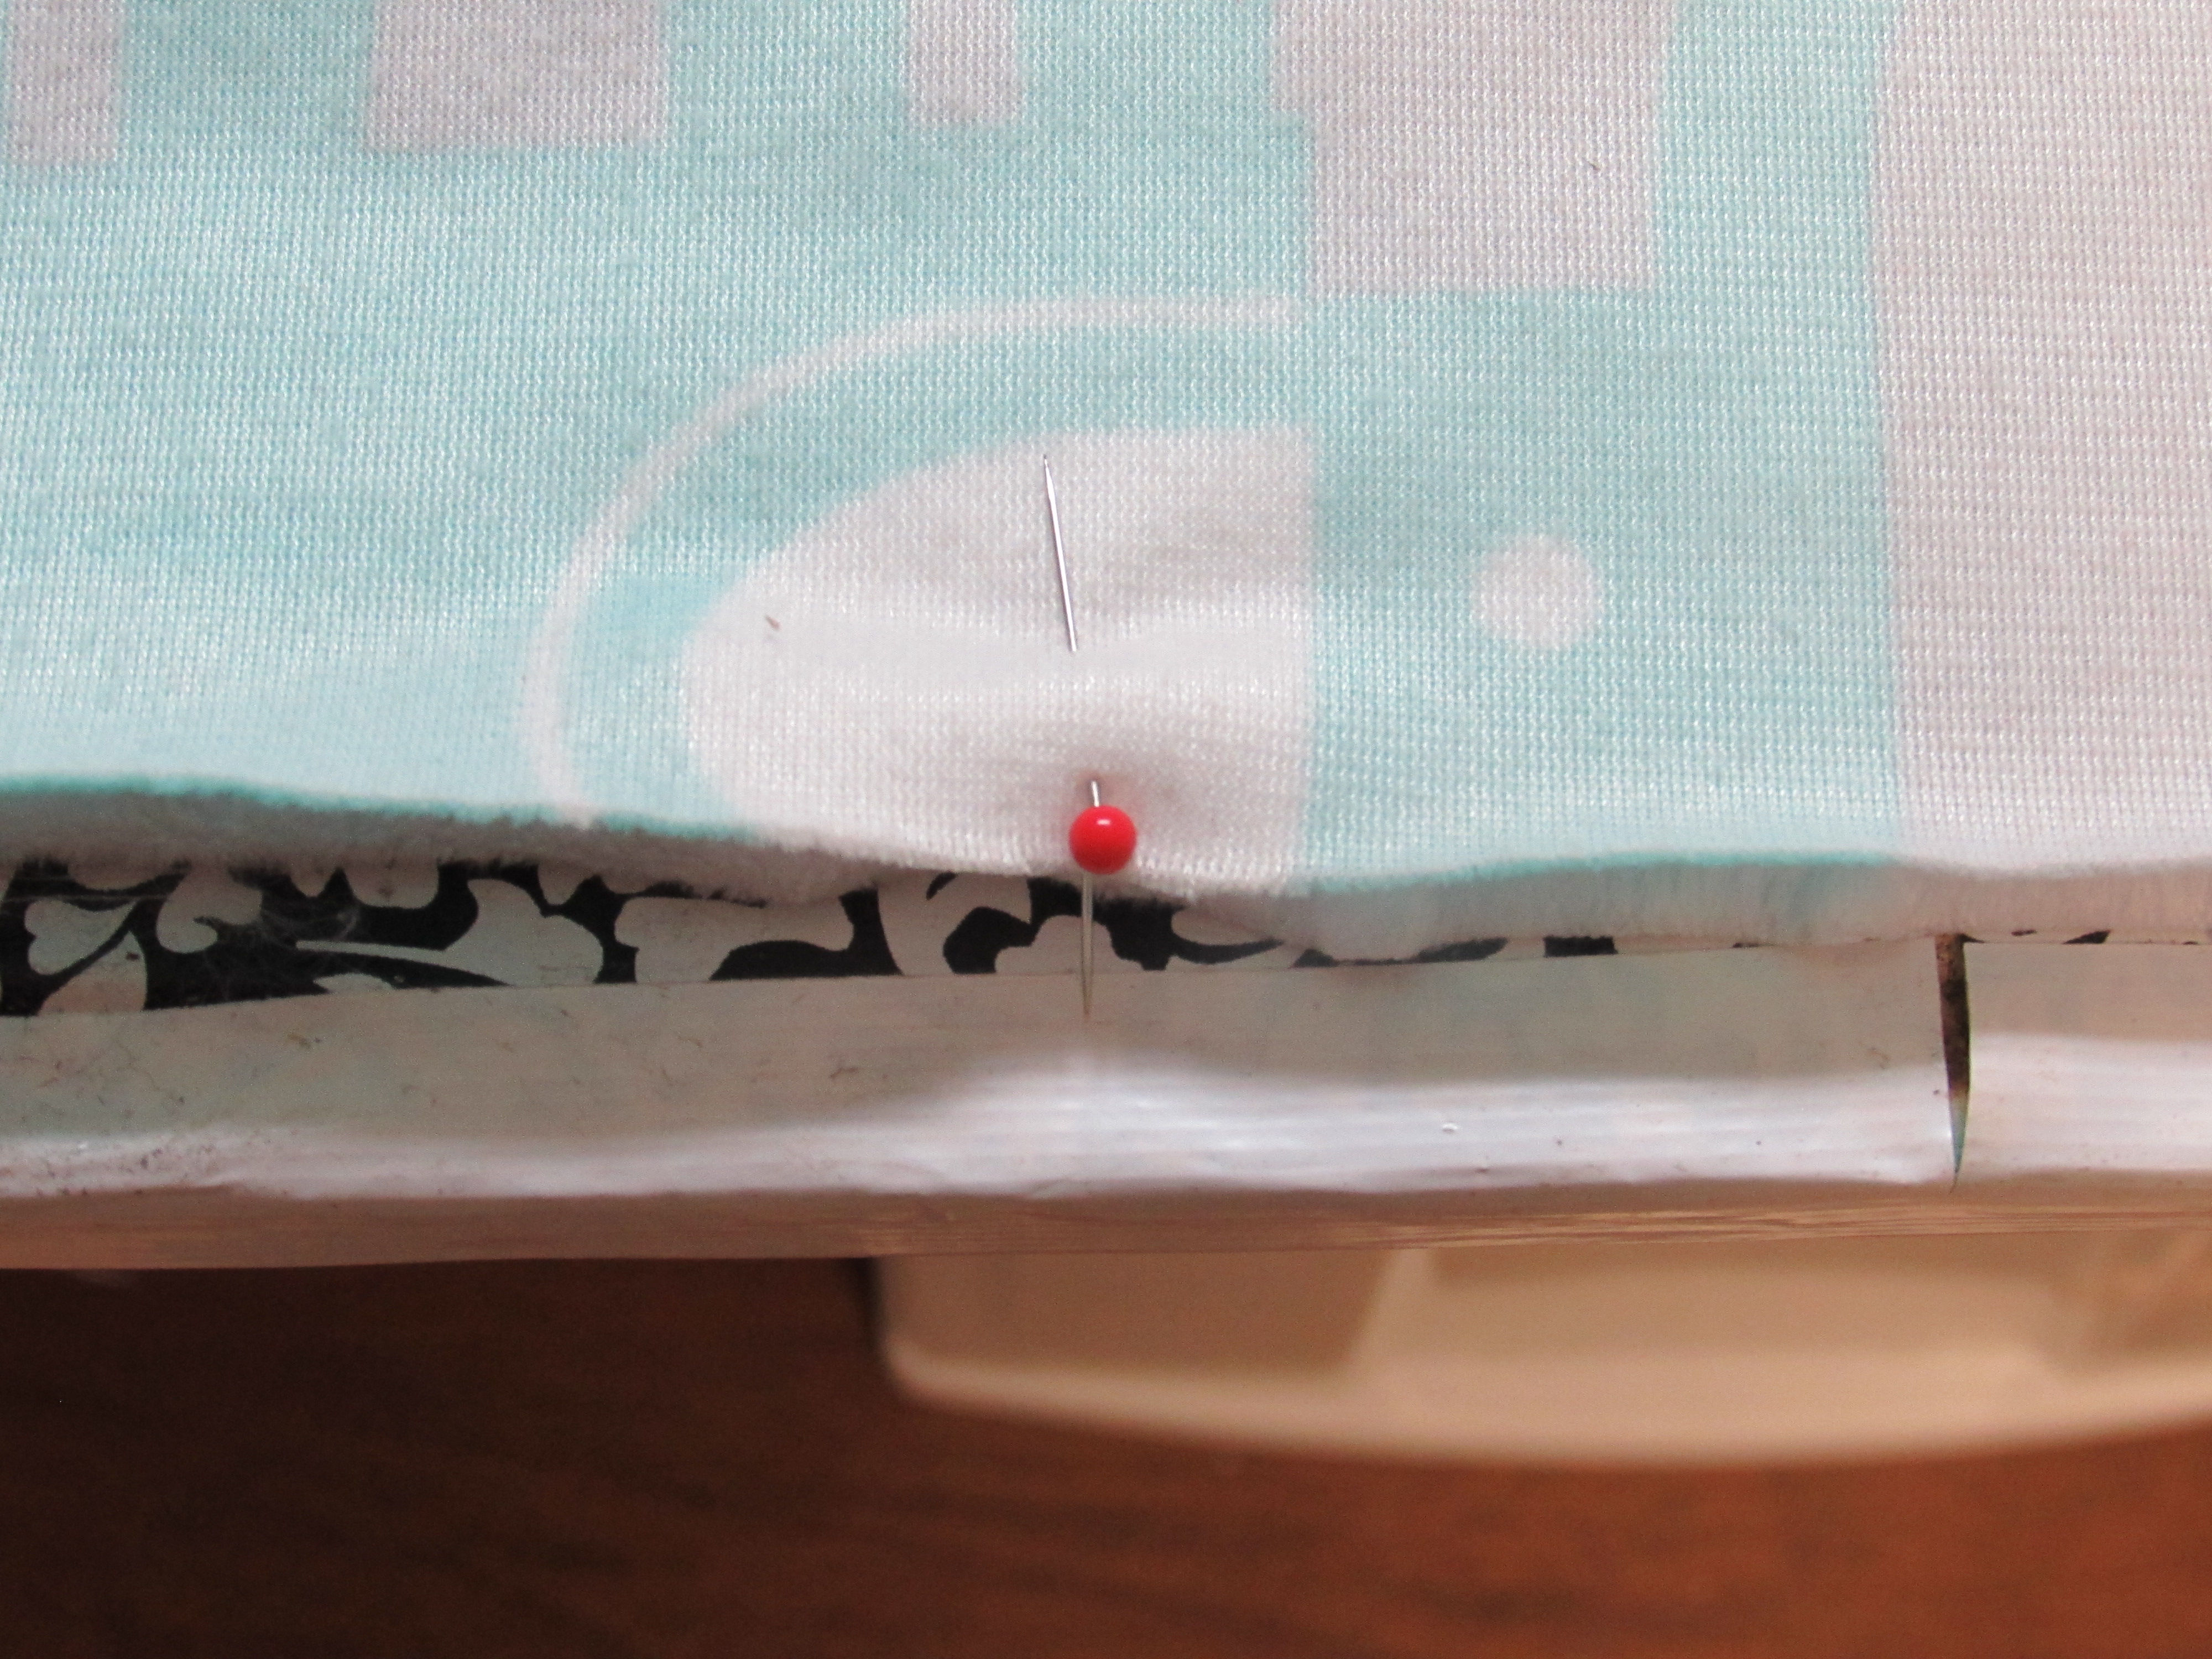
First, cut the fabric to the dimensions that you want, making sure that the backing fabric is ten inches larger. For this blanket, my dimensions were 37×47. Next, find the middle of each side of each fabric and place a pin.
Place the backing fabric face up and lay the front fabric on top of it with the pattern side down. Match the middles of each fabric on one of their sides and pin them together. NOTE: If you are new at this and this step is confusing and you can’t envision the final outcome, don’t worry. I was having trouble with this also. Keep going.
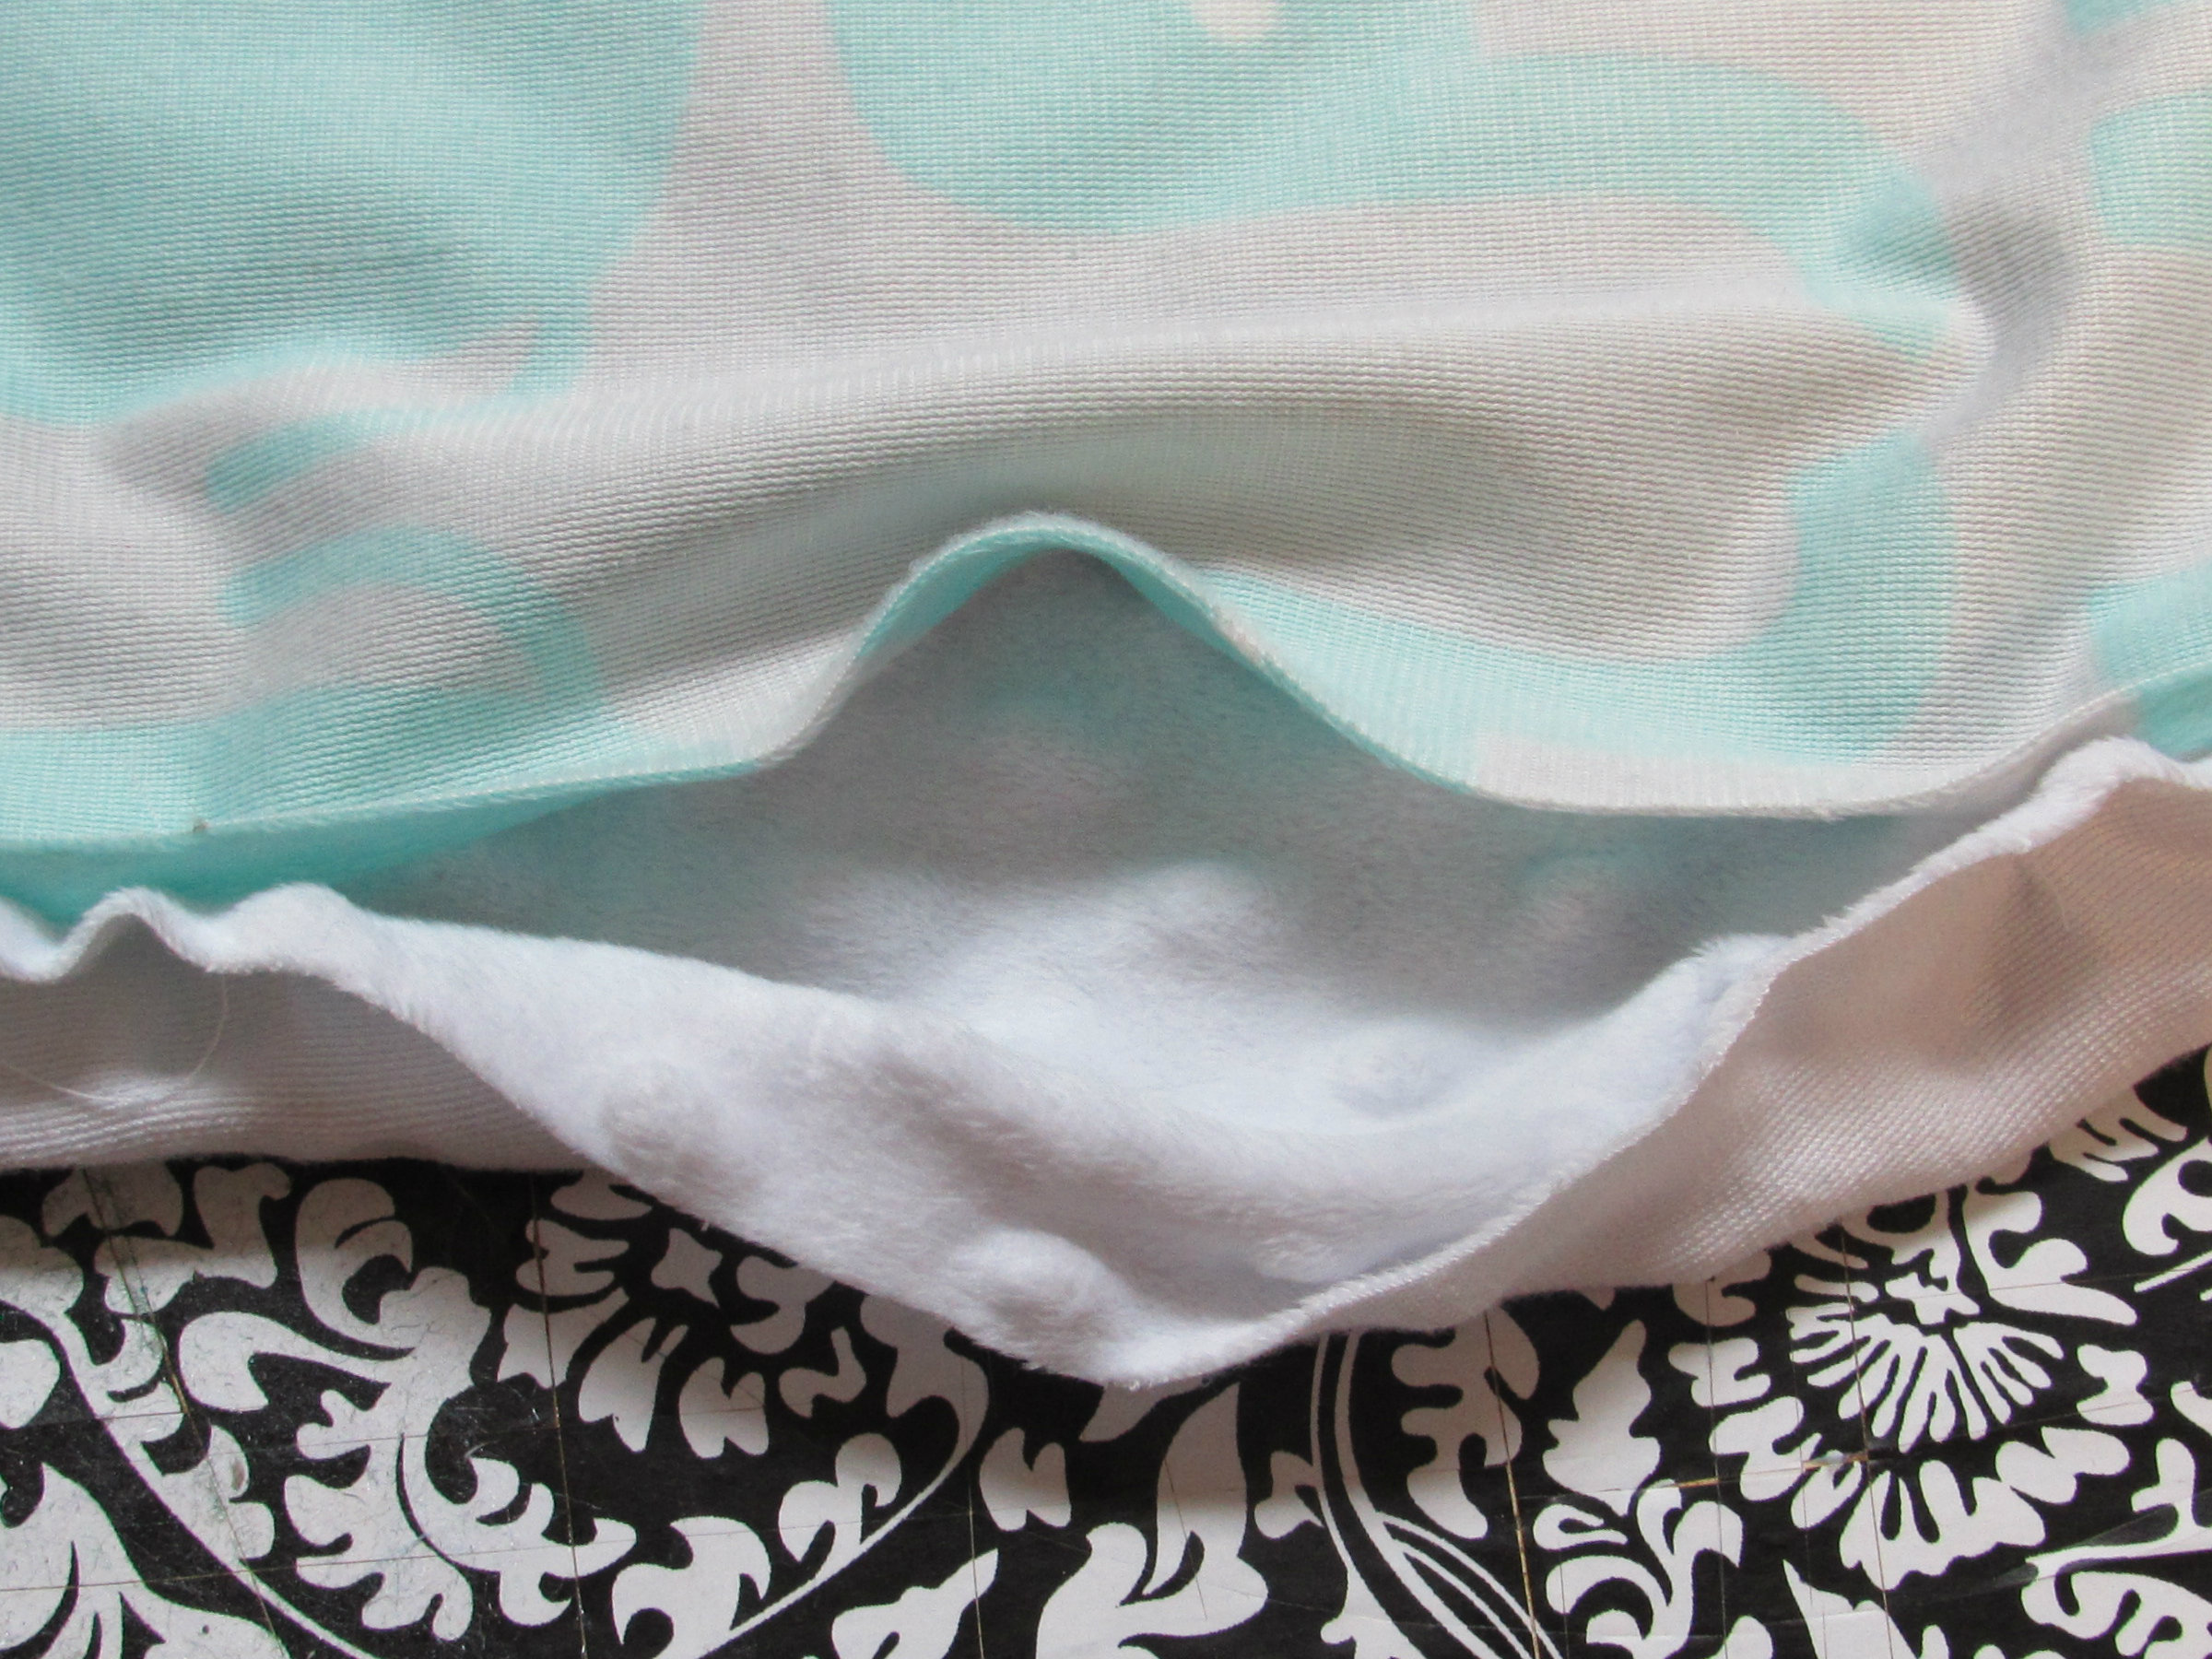
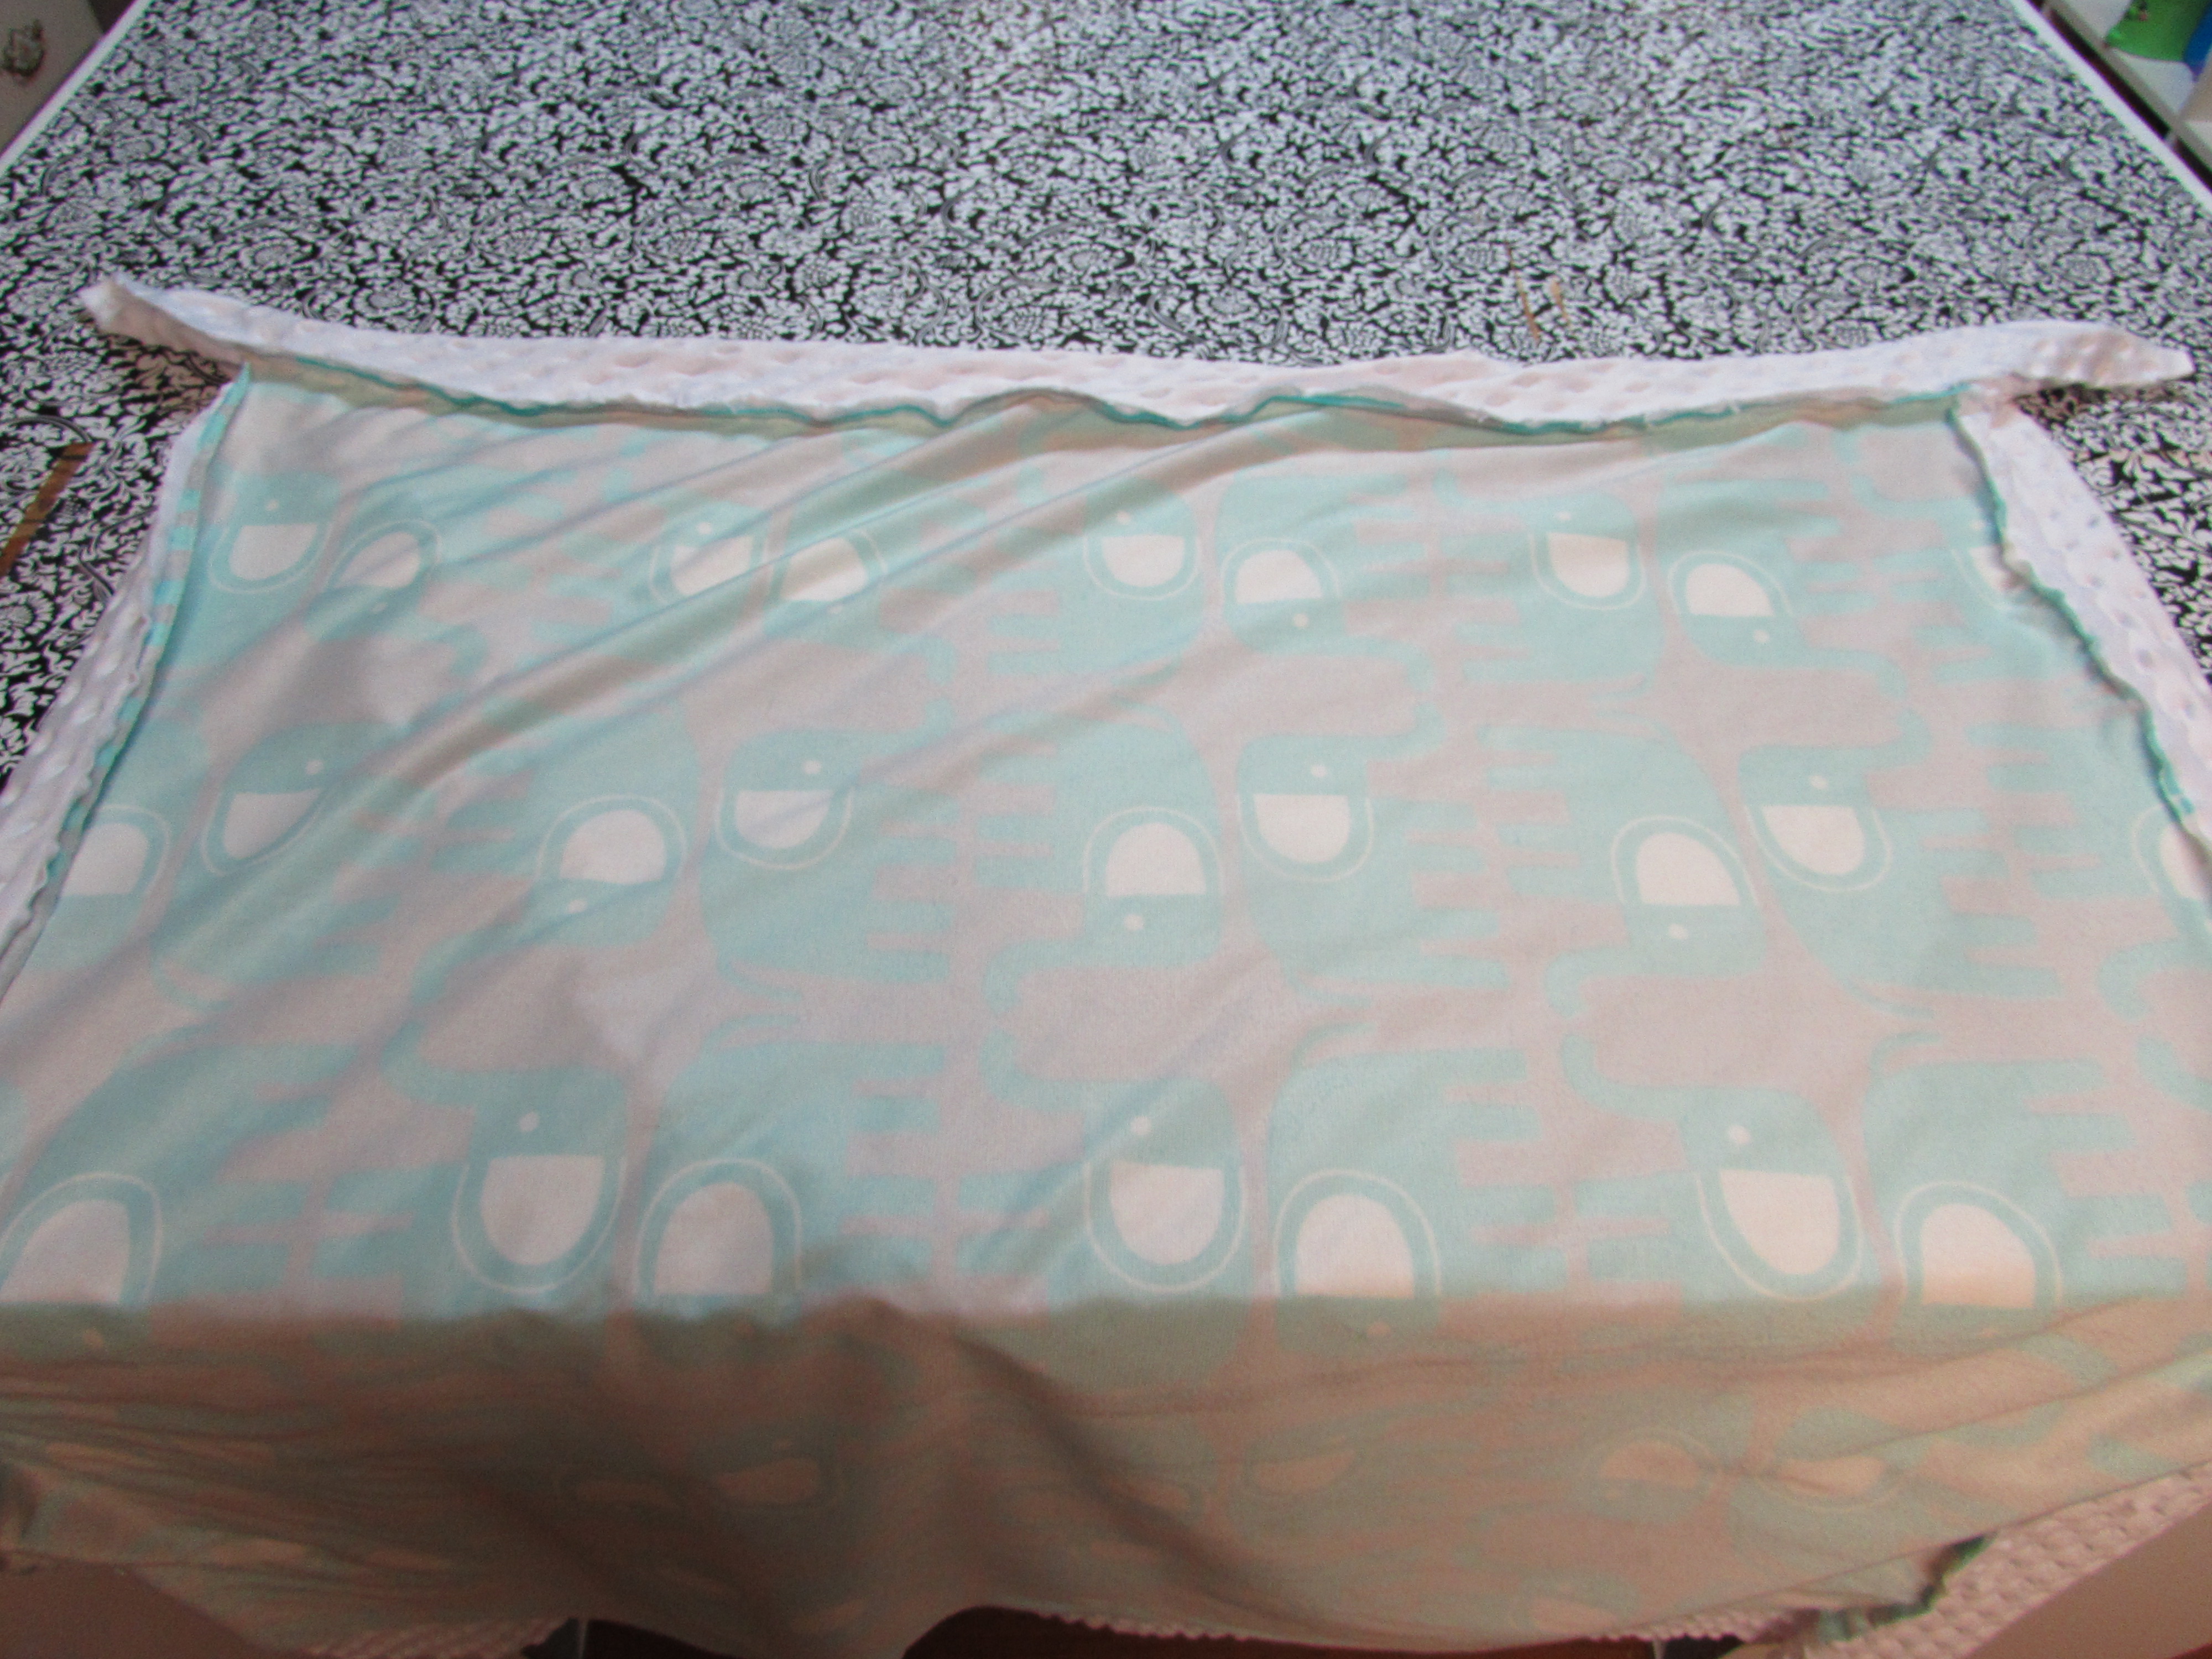
Sew the edges together using a straight stitch. After one side is done, match another sides middle points and repeat. Do this for three sides, and on the fourth side leave a small opening in the middle to pull the blanket right side out.
After you are done sewing the four sides, this is what it should look like.
Next is making the corners. Fold the fabric so it makes a triangle and place a ruler or some sort of straight edge where the back fabric meets the front fabric in the corner. Draw a line where this happens and sew a straight stitch on the line.
After you sew the stitch, pull the corner through and make sure it the binding is correct before you cut the excess fabric off. I have learned this lesson the hard way. Do this with all four corners.
After this is complete, pull all the fabric through the opening. Sew a zigzag stitch all around the blanket where the front fabric and the backing fabric meet. The zigzag stitch will close the opening that was left for pulling the fabric through.
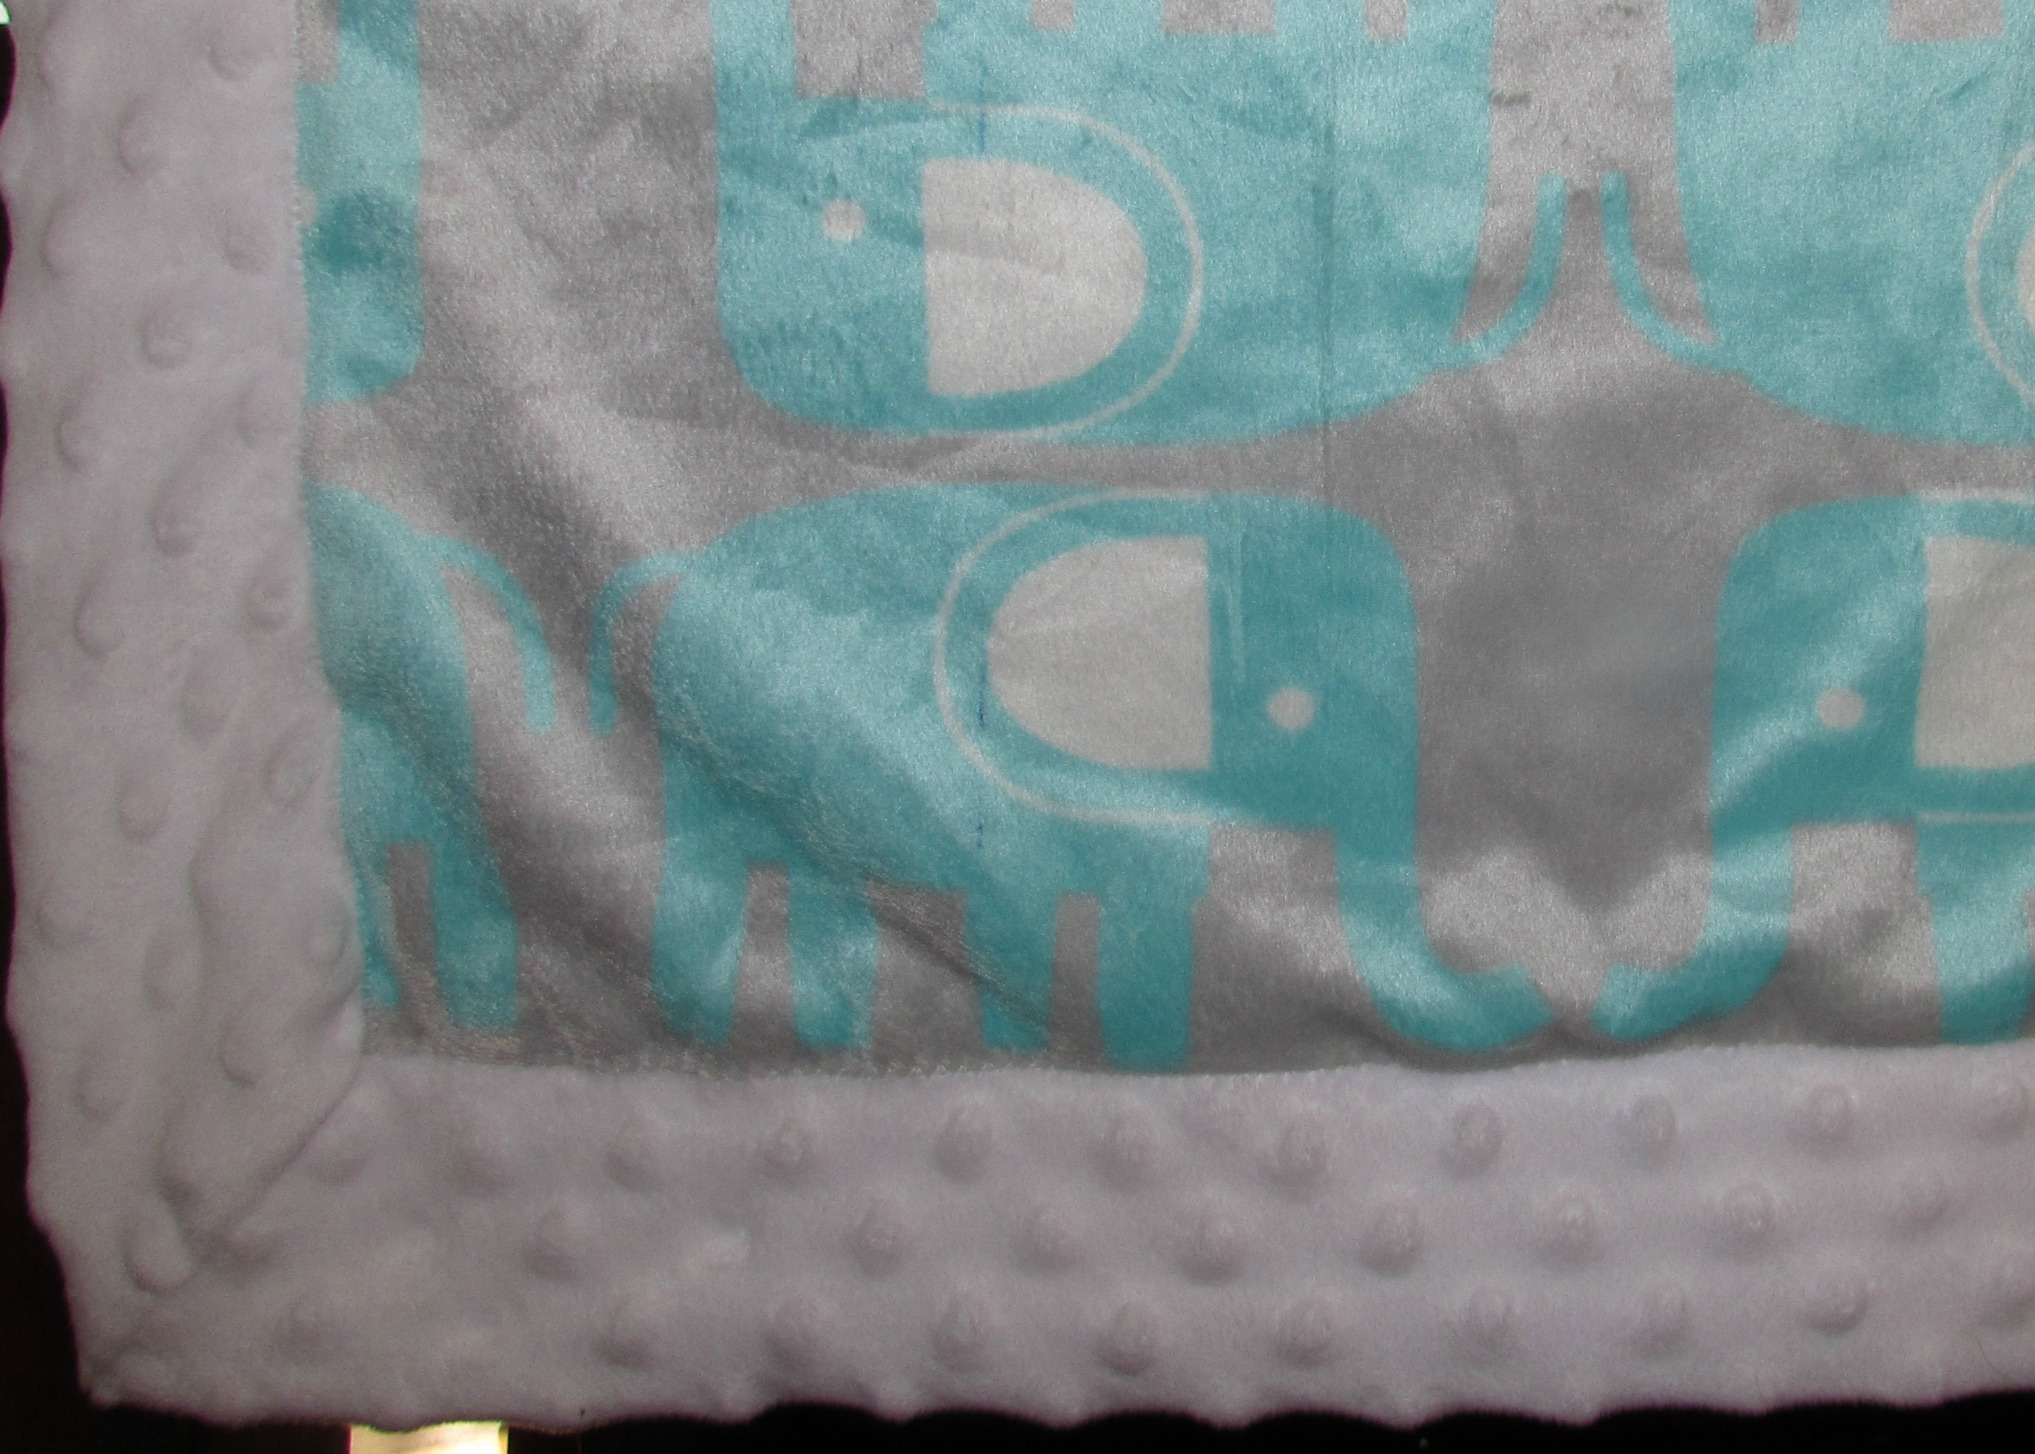
That’s it! Now you have a cuddly blanket to snuggle in or give as a gift.
Notes: The material that I have used together is minky and cotton, minky and flannel, and minky and another cuddly type fabric. My favorite combination so far has been the minky and cotton, but the others were not hard either. I have heard that the minky fabric can be difficult to work with, however, as I stated before, I am a new sewer and I haven’t had problems with it. The only time I have had problems with these is when I’m not thinking about each step or am in a hurry to get it done. Take your time and you will have a beautiful blanket to show off!





cele pohle
November 19, 2014 at 9:42 pmGood job on the instructions almost made me want to do one