Preschool Board

I enrolled our little lady in preschool this week. Why is it that since we have had our kids, time can’t just slow down a little bit? It seems like yesterday we found out we were having our first baby and now she will be getting ready to start her many years of school life. I’m in a little bit of disbelief and not really ready for this step. However, time goes on and it’s our job as parents to let our littles grow up and become the people they are destined to be. She will do fantastic and even though it will be hard, I’m excited at the same time to watch what she does.
Anyway, now that I have gotten my sentimental rambling out of the way, this week I have been making a board for us to get ready for this next adventure. At first I was going to use foam board as the backing, although I didn’t really think that the Velcro was a good option to get the pieces that we would be using on and off of it. Then I remembered that automotive stores have those really large metal drip pans for changing oil and I thought it would be fun to make this board with magnetic pieces. However, I was not in love with the metal look the drip pan had, so I decided to spray paint it black to match the rest of the Mickey Mouse type décor that we have in the kids’ playroom.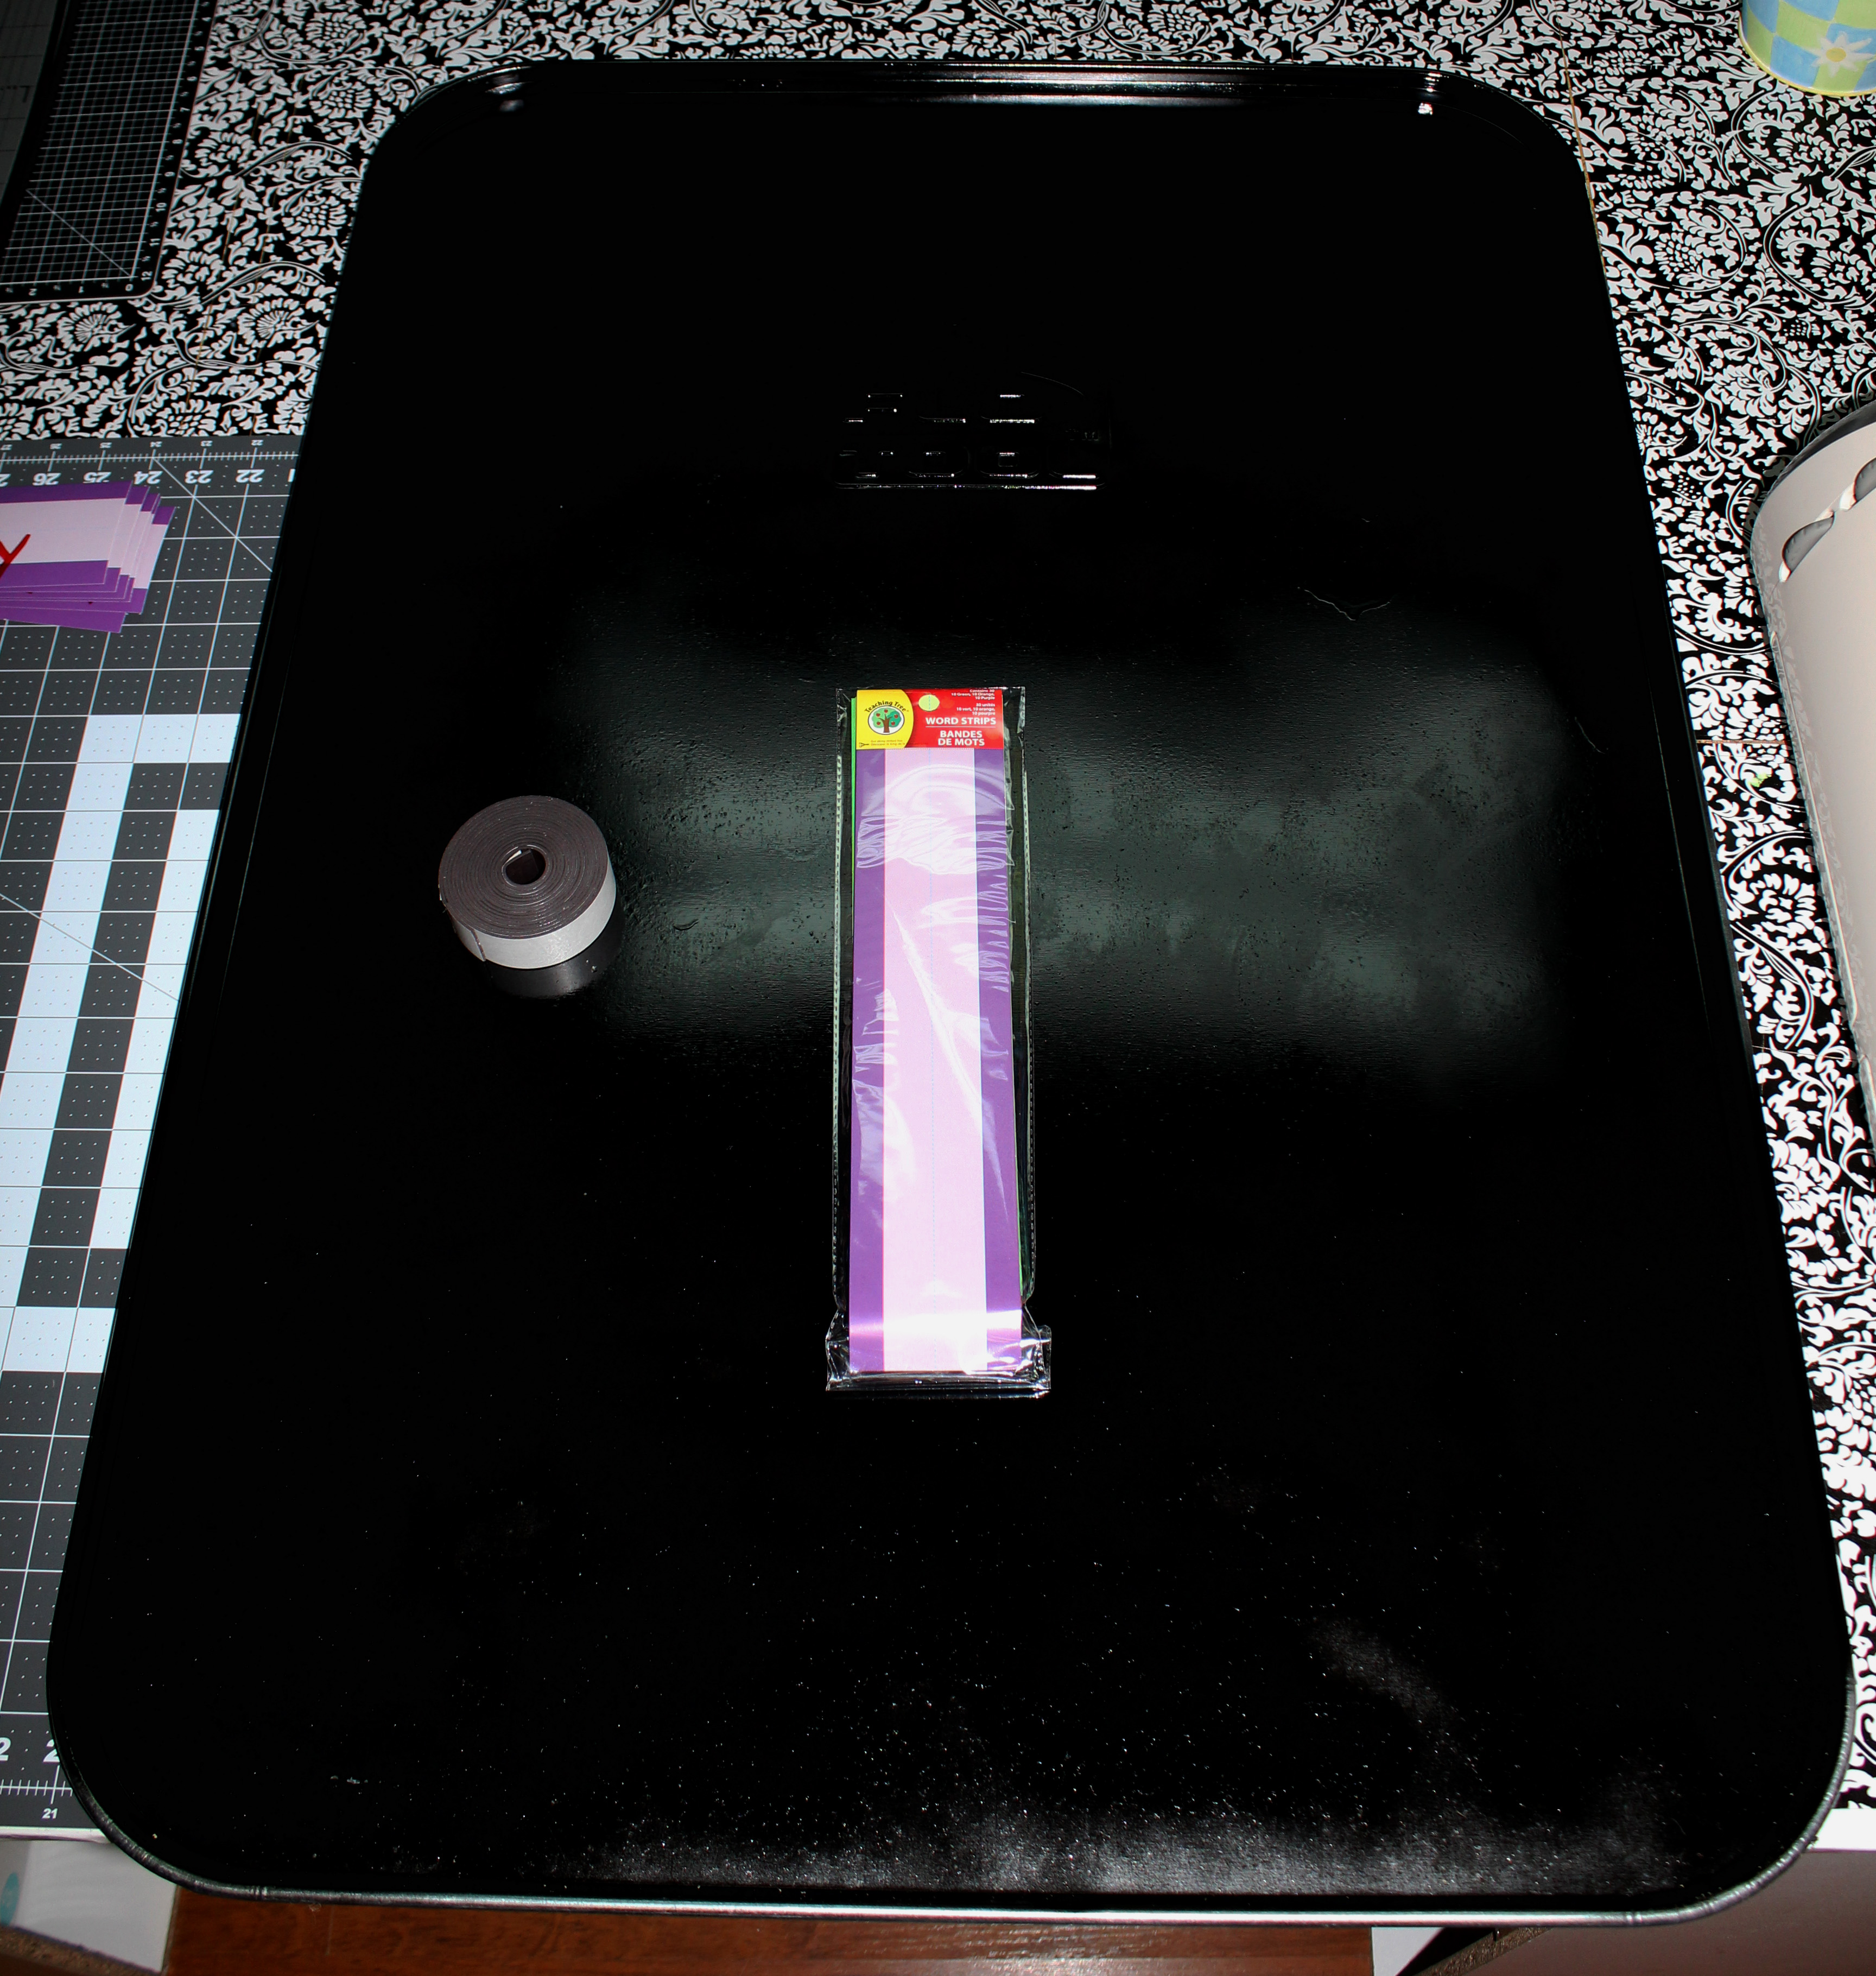
Next, I had to decide what sort of things we should work on that would be age appropriate. I finally decided on date, time, weather, and season and proceeded to cut out colorful labels for each are using my Cricut and Xyron sticker maker. For the date area of the board, I found some school type practice writing sheets at the dollar store and wrote out each day of the week, each month, and the year on them. For the actual day of the month, I thought a postage note would work well and she could easily change that out on a daily basis. For the rest of the areas that we will work on, I decided to find clip art images and laminate them. Since she is only two at the moment I am using images of morning, afternoon, and night for the time area of the board. However, I did purchase a small open and close sign and cut the clock out and will use that with her when she is old enough to start telling time. I then attached magnets to all of my items and our board was ready to go! I attached it to the wall in the playroom using command strips and put all of our pieces in a basket that I found in the dollar section at Target. I am thrilled with the way it turned out and am happy to report that she loves playing with it and learning as she goes!
Thanks for reading and as always have a happy day!


Leave a Reply